Showing posts with label rustic. Show all posts

March 10, 2012

Erica & Chase, March 3, 2012

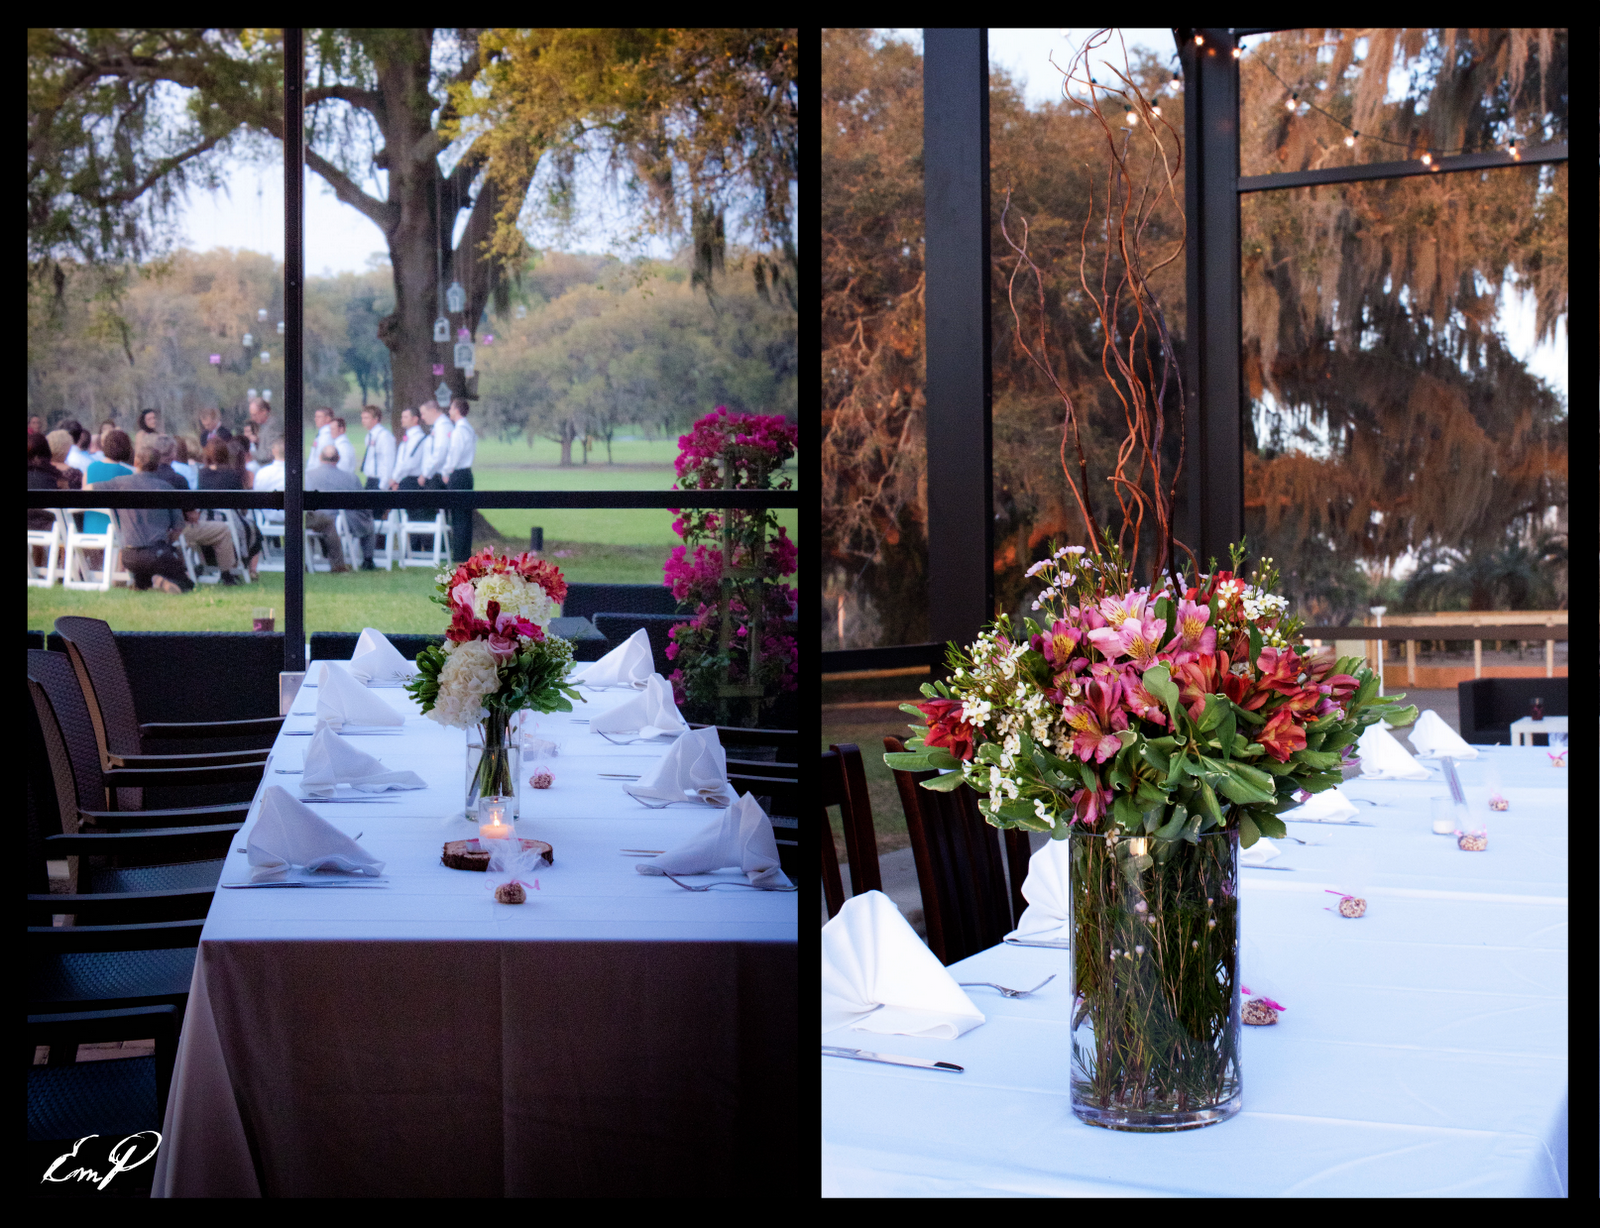
 The night was set in candlelight and market lights to create a country twilight ambiance. Touches of birdcages were put throughout the ceremony and reception, to symbolize lovebirds. A windy, but cool evening; dusk began to set to create the perfect romantic evening for Erica and Chase's vows.


Moss blew in the wind as the wedding party flowed down the aisle.

The bridesmaids wore different colors of fuchsia pinks, each looking beautiful in their own shade and style.


Sunken rosebuds, drew the way for our bride down the aisle.


Family was very important to our bride and groom, so we added pictures of family members and their years growing up, throughout the reception. 


The brides bouquet. This is actually my own design and creation. I added a bird charm to the side of the bouquet to add that small charming detail.

 
Nicole Ferguson did Erica's make-up and hair - and she did a beautiful job! Erica's eyes were smokey gray, which made her green eyes glow.


Such a fun night! Watch as the bride gets her moves on.

Such a beautiful couple! I would like to Thank Erica and Chase for the opportunity to plan my first wedding from start to finish. Much to my delight, I had so much fun being the event planner and adding the special touches. I would also like to thank Tammy, Jordyn, Danielle, and everyone one else who contributed to making this wedding a success! I couldn't have done it without their support and teamwork.
Erica was such a wonderful bride to work with and I know this couple will have many happy years to come. Congratulations to the groom and best wishes to our bride!

Mark 10:9
"What therefore God hath joined together, let not man put asunder."
 

February 26, 2012

How-To Make a Burlap Aisle Runner

Don't! Just kidding. Although, making this aisle runner turned into quite a headache and I almost gave up on her a few times; but if you love the idea and need some advice, please read on.


Completely inspired by my cousin's wedding,  I thought, "Oh my goodness, how adorable would this look along with her rustic charm wedding theme?!" Little did I know, that a few days later I'd be tangled in 7 yards of burlap and speaking in strange tongues, yelling at myself, "NEVER EVER AGAIN!" Continue to read though, if you're as determined as I was.


You will Need:
  • 7 yards of burlap (or however long your aisle is)
  • 7 yards of white fabric
  • A good quality Sewing Thread (tan)
  • Wilson Iron-on Paper
  • A Sewing Machine
  • Fabric Paint
    • Pins
    • A Seam Ripper (just in case)
  • A Thin Paint Brush 
  • Buttons
  • A Glue Gun
1. Iron on your Monogram. Use Wilson's iron-on for light fabric. You can find this at Michael's Crafts. Make sure to mirror your image and that your letters are straight. Use a pillow case to iron for the first 25 seconds, then iron-on the paper for another 15-20 seconds without the pillowcase. Remove the iron-on while the paper is still hot.


Tip: You can find elegant fonts for free on www.dafont.com. This font is called, 
"Indenture English Penman."
The Difference: Left, is paint - Right, the iron-on.
2. Use a very thin tip paint brush and mix your colors. Paint to fill-in your monogram. It may take two-three coats before you're happy with your final product.


3. Glue-gun your buttons. I printed out my ampersand symbol onto a piece of paper and then I placed the paper under my burlap - using it to trace my ampersand. I then glue gunned the buttons one-by-one.


 This is what my final monogram and ampersand looks like.


4. Make SURE to sew the aisle runner INSIDE OUT. After flattening and making sure there were no bubbles or wrinkles, I literally used 100 pins to make sure my fabric didn't shift while sewing... after I murdered my seam ripper. :)


5. MAKE SURE you leave a gap at the end to turn your runner back inside out once you're finished. To end the tedious task of a burlap aisle runner,  tuck the seams at the end and sew them in a straight line.


6. I added the date, using steps 1 and 2. 
7. Iron your runner to smooth out any wrinkles. Be careful not to iron your paint.

I must say, I feel pretty proud of my hard-efforts and it all paid off, because my bride is thrilled. This is a one-of-a-kind piece, I couldn't find very much inspiration online for a burlap aisle runner. Probably because the wiser bride would never undertake taming 7 yards of burlap. 
I look forward to publishing the professional pictures later from my cousin's wedding. 
Thank you reading!